Goals
- Allow the user to upload an image
- Convert the image into an ARReferenceImage
- Set the new ARReferenceImage as an ARAnchor
Relevant Swift Class Documentation
- UIImagePicker - This handy class will allow the user to upload an image for us to process
- ARReferenceImage - We need to process image data into this class so ARKit can detect it in the real world
- ARAnchor - Once ARKit detects the image we can pull coordinates for an anchor in 3D space
Link to Project
I've uploaded the code for this post on my Github.
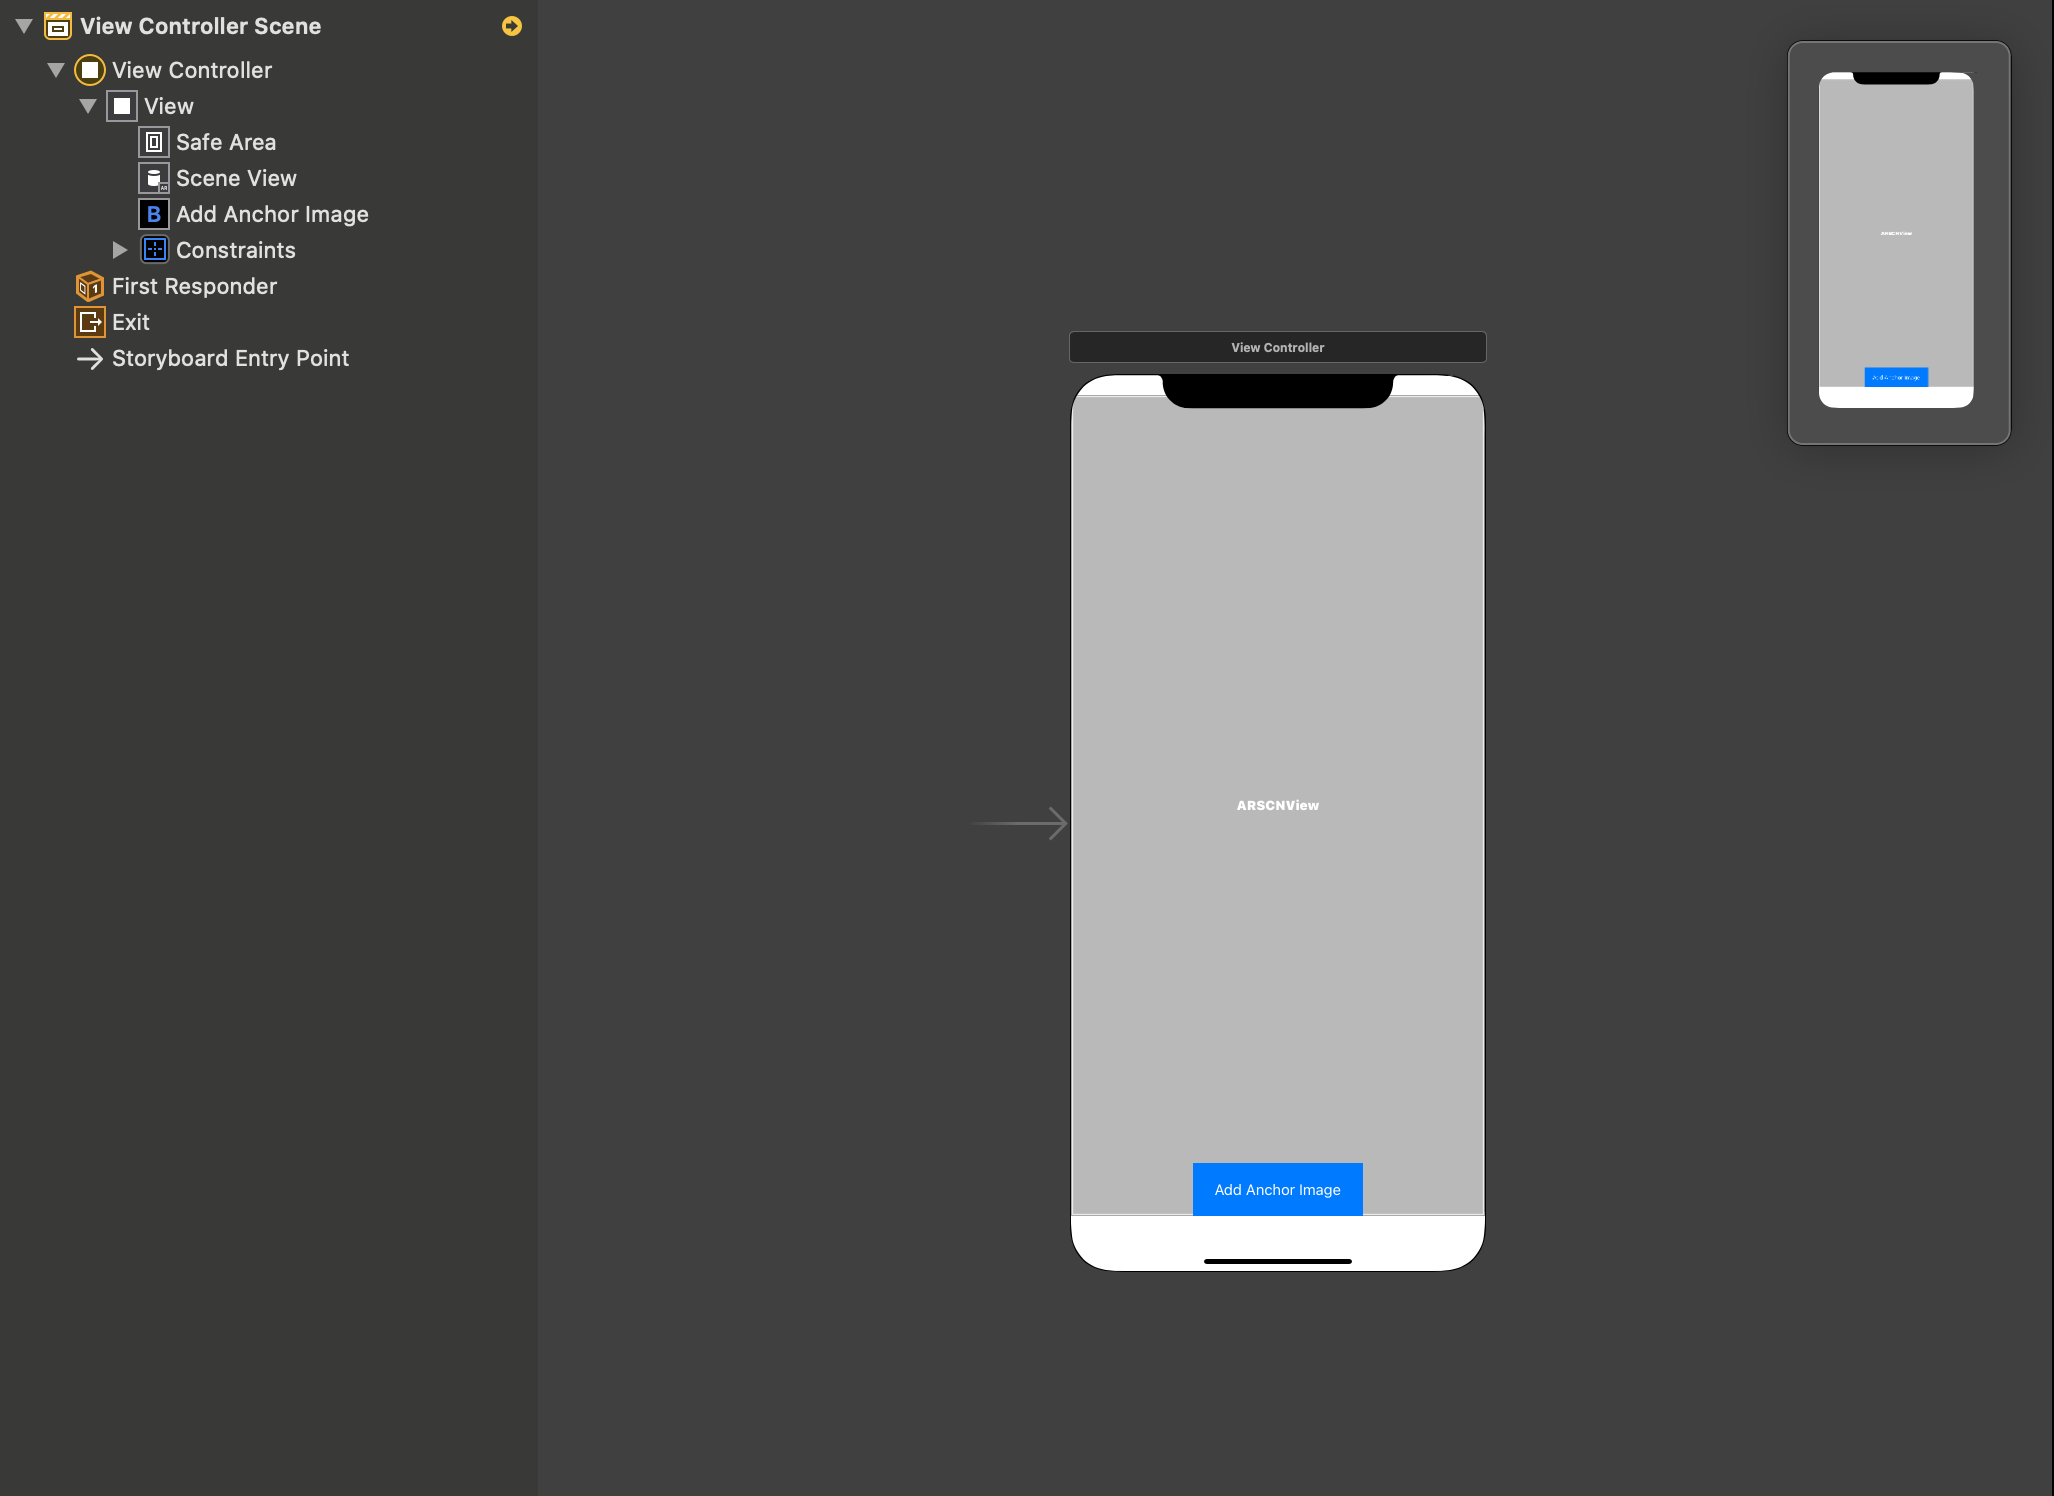
Setting Up the View
To keep things as simple as possible, I've set up just an ARSCNView in which ARKit will be run I did this by creating my project as an Augmented Reality project. I also added a button at the bottom of the screen
In the ViewController I've added an IBOutlet for the ARSCNView and an IBAction for the button where the code to launch the UIImagePicker will be contained.
Getting the Image From the User
Here's the routine I've used for initializing the UIImagePicker.
let picker = UIImagePickerController()
picker.sourceType = UIImagePickerController.SourceType.photoLibrary
picker.allowsEditing = true
picker.delegate = self

present(picker, animated: true, completion: nil)
Create a variable to hold the ARReferenceImage.
var referenceImages:Set<ARReferenceImage> = Set<ARReferenceImage>();
Converting the Image Data
Then once the user selects the image we can process it into an AReferenceImage.
func imagePickerController(_ picker: UIImagePickerController, didFinishPickingMediaWithInfo info: [UIImagePickerController.InfoKey : Any]) {

    guard let image = info[.editedImage] as? UIImage else { return }

    //Turn the UIImage into a CGImage so we can get the core image data
    guard let cgImage = image.cgImage else { return }

    //Create the arreferenceimage
    let arReferenceImage = ARReferenceImage(cgImage, orientation: CGImagePropertyOrientation.up, physicalWidth: CGFloat(cgImage.width))
    arReferenceImage.name = "arReferenceImage"
    referenceImages.insert(arReferenceImage)

    //reconfigure the scene and add the reference image to the configurations detected images
    let configuration = ARWorldTrackingConfiguration()
    configuration.detectionImages = referenceImages
    configuration.maximumNumberOfTrackedImages = 1
    sceneView.session.run(configuration, options: [.resetTracking, .removeExistingAnchors])

    //remove the UIImagePicker prompt
    dismiss(animated: true, completion: nil)

    }
Rendering the ARAnchor
Now it's time get the position of the anchor
func renderer(_ renderer: SCNSceneRenderer, nodeFor anchor: ARAnchor) -> SCNNode? {

    DispatchQueue.main.async {
    if anchor is ARImageAnchor {

        print("Anchor located at x:\(anchor.transform.columns.3.x) y:\(anchor.transform.columns.3.y) z:\(anchor.transform.columns.3.z)")

        }
    }
}
That's It!
Now that we have the user's image set as an anchor we can base our scene assets on it's location.
My original goal was to allow the user to upload a picture of their own business card and use it within the app to display a 3D asset above it. A salesperson could display a rendering of a product they intend to sell and the developer wouldn't need to worry about uploading each salesperson's business card as an ARReferenceImage.

Rocco Daigler
Web developer
Hi! I'm a professsional .NET developer as well as an avid hobbyist in Swift developement. I enjoy finding complex business processes and translating them into software solutions. I put this site together so that I could share code snippets for difficult problems that I was unable to find resources for. I hope there's something here that can help you!